


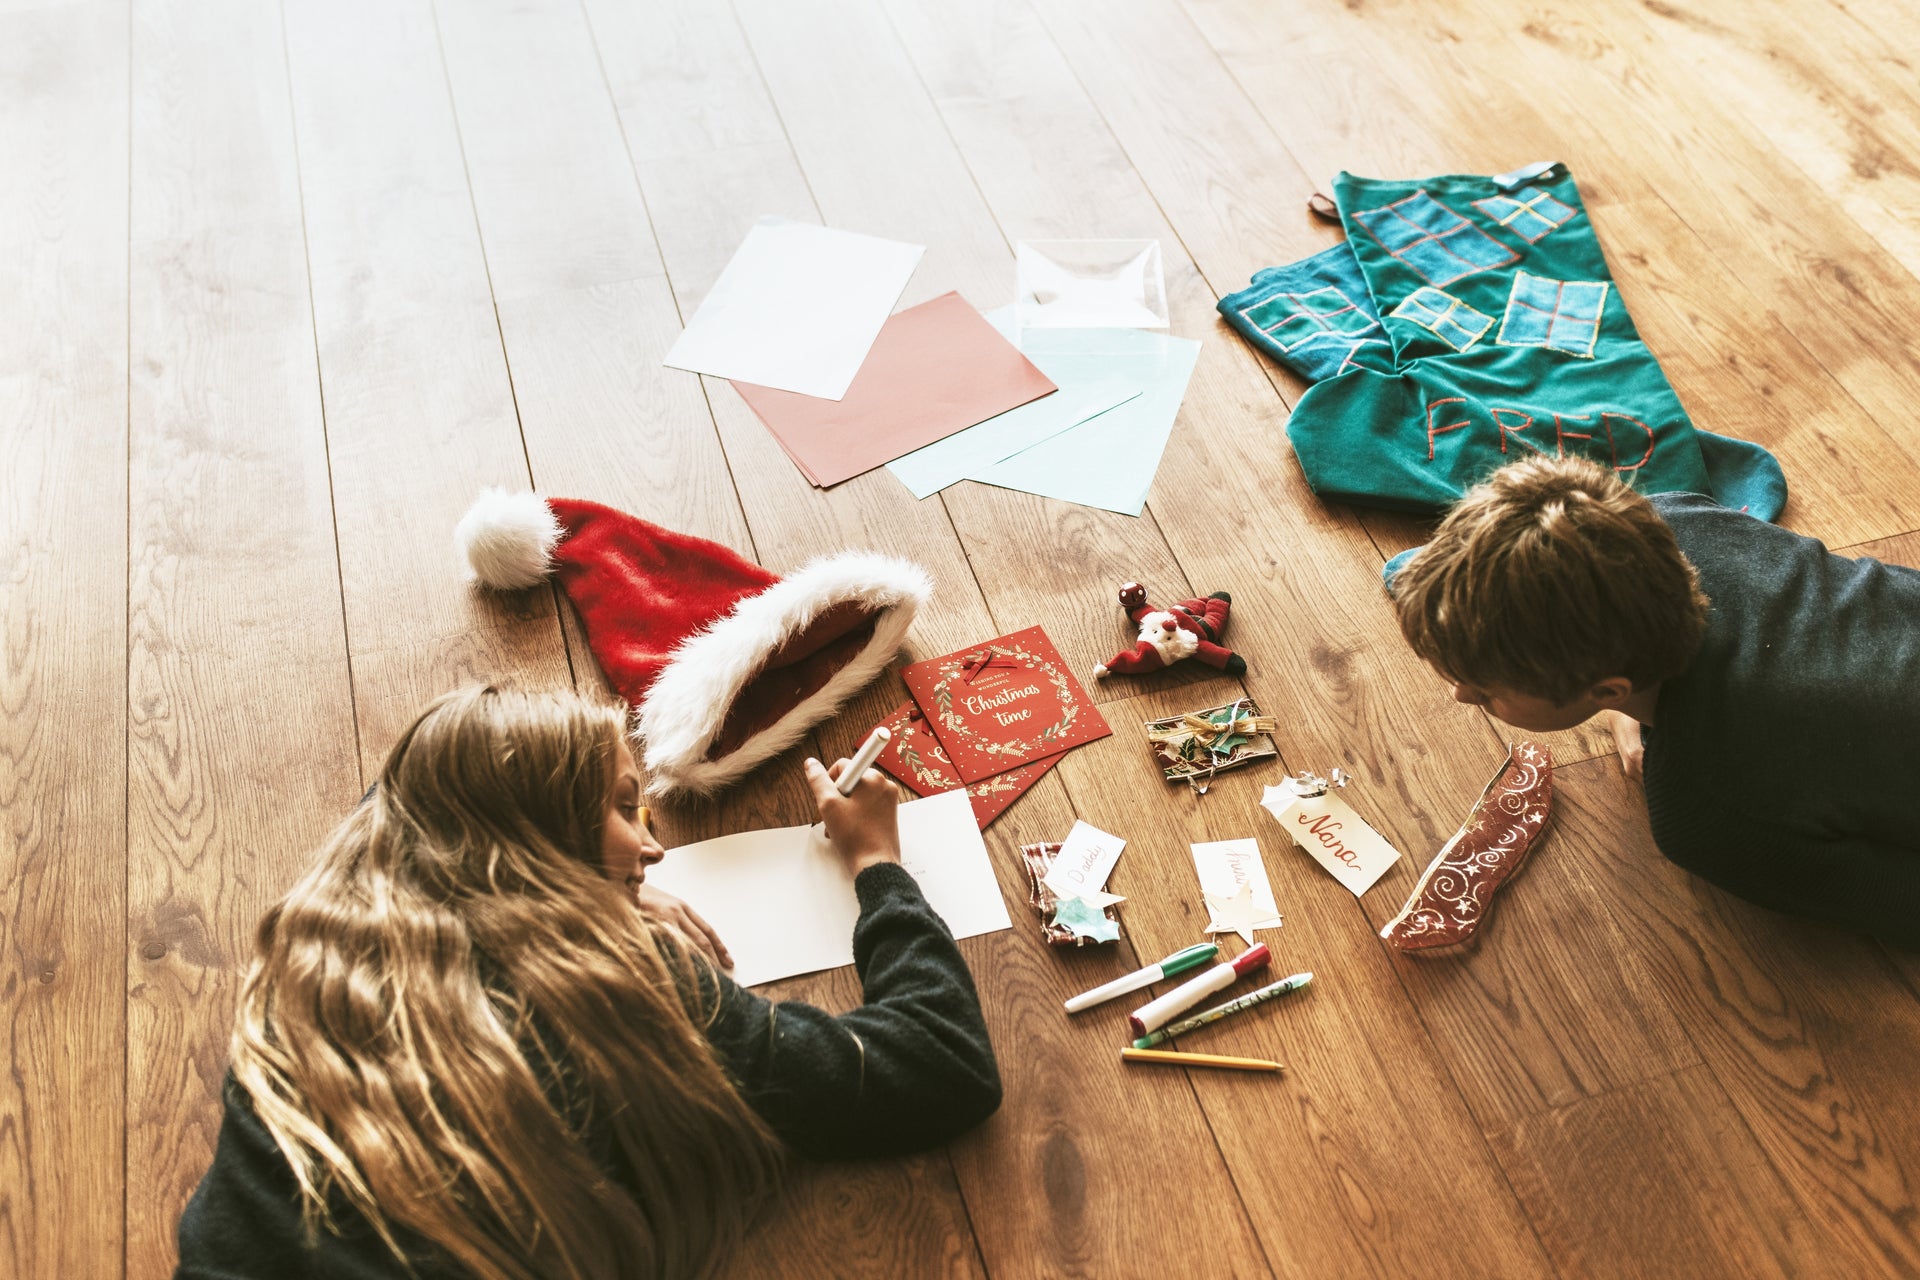
DIY Christmas Cards Kids Can Make
Christmas cards look attractive and express their unconditional love for their friends, family, and relatives. Receiving or sending Christmas cards allows us to feel loved and, at the same time, let our friends and relatives know that they are loved too.
Taking time out of your busy life to make a card shows the other person that they matter to us; we do care about and value our relationship with them. Christmas cards have been a glorious tradition for so many years as they are better than just writing personal notes to people.
DIY Christmas cards make beautiful gifts and memories, allowing your children to be creative while thinking about others. This year, send homemade Christmas cards to friends and family to bring them joy.
We've gathered the best homemade Christmas card ideas for you to make with your child this year. These cards are so simple that you can make them using your child's handprints, photographs, paints, and many more.
![]()
1. Fingerprint Lights Christmas Card
Kids love stamping their little fingers on cards, so this lovely fingerprint light card is perfect for children. But, of course, your child's tiny fingerprints in the form of lights will make this card even more special.
To make this card, you will need washable finger paints, cardstock papers, black markers, a paintbrush, and scissors.
Instructions:
- Cut an A4 sheet of cardstock in half and fold it from the center.
- With a black marker, draw the wire for the lights.
- Dip your child's finger in washable paints and stamp along the black line to make colorful light bulbs.
- You can also mark points along the line to ensure that your kids are going in sequence.
- After the fingerprints have dried, use a paintbrush to apply a little white paint to accent the lights.
- Allow your child to customize the card with Merry Christmas greetings for relatives and friends.
- Your cute fingerprint Christmas lights card is complete
2. Santa Hat Christmas Card
This homemade Santa hat Christmas card is so easy to make. To make this card, you will need green cardstock paper, red scrapbook paper, glue, scissors, and some white glitter.
Instructions:
- Take a green card stock paper and fold it in half.
- Cut a triangle from red scrapbook paper.
- Paste this triangle on the green cardstock paper.
- Now take a white cardstock paper and cut a small circle from it.
- Paste this white circle on the tip of the triangle.
- In the end, throw some glitter on it to make it all glittery and sparkly.
- Your perfect Santa Christmas card is ready.
![]()
3. Reindeer Handprint Card
This Christmas, surprise your friends and family with a reindeer handprint card. All you need is a piece of cardstock in your favorite color, a black marker, google eyes, and some red pom poms.
Instructions:
- Take a piece of cardstock in your favorite color, fold it in half and let your kids trace their handprints using a black marker.
- Help your child cut along the lines of the handprint.
- Make sure the folded part of the card is on the pinky finger.
- Paste two googly eyes and a red pom pom nose on the card.
- Your perfect reindeer handprint card is ready to be sent to your friends and relatives.
4. Christmas Tree Thumbprint Card
A Christmas tree thumbprint card is a simple one, and your kids will really enjoy making it. All you need is white paper, colored paper, scissors, crayons or markers to trace shapes, tape or glue, and paints in different Christmas colors ( green, red, and gold).
Instructions:
- Take a black cardstock and trace out the shape of a Christmas tree on it with a green or yellow crayon.
- Help your child cut along the lines to complete the Christmas tree shape, trimming it slightly to achieve the desired tree shape.
- Paste this Christmas tree on white cardstock paper using glue or tape.
- It's time to start painting now. Have your kids dip their fingers in green or red paint and start making fingerprints.
- Make sure the kids mark their fingerprints along the tree's shape, which will help the Christmas tree show up nicely at the end. After making fingerprints along the shape's edge, make scattered fingerprints all over the paper. It's also fun to experiment with different colors, such as red or gold!
- When you've finished making fingerprints all over the paper, peel up the shape to reveal your Christmas Tree! This is the exciting part. Peel up the colored Christmas Tree shape carefully to avoid tearing the paper.
- Your perfect Christmas tree thumbprint card is ready.
![]()
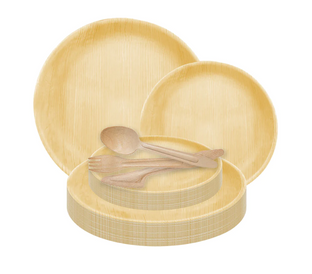
5. Paper Cup Christmas Tree
This Christmas, let your children do something innovative by giving them disposable cups and allowing them to decorate them as they like. Then, after they decorate these disposable cups, they can send them to their favorite friends.
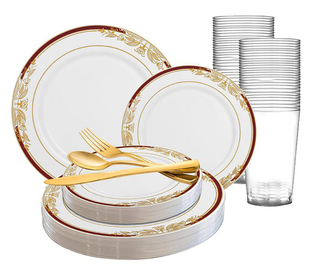
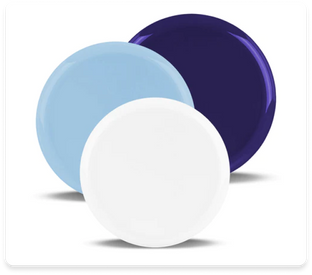
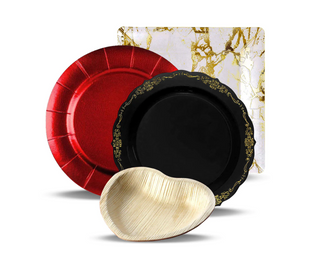
Before you head out to the market to buy disposable cups, let us tell you that Smarty offers the best disposable plasticware. In addition, their plasticware products are available in multiple colors. So, you can pick up your favorite plasticware sets and let your kids decorate them.
Instructions:
- Take your favorite disposable cup.
- You can also wrap the cup with your favorite colored sheet paper if you don't want the white color.
- All you need is colorful buttons, pom poms, beads, sequins, and glue.
- Let your kids paste these beautiful decorations on these disposable cups.
- In the end, add a golden Christmas star at the top of the cup.
6. Snowman Christmas Card
Whether it snows in your area, a snowman is a must-have for Christmas. If you can't make one with real snow, paint one on a Christmas card. You will need red cardstock paper, scissors, markers (red, green, orange, black), white acrylic paint, glitter, and a paintbrush.
Instructions:
- Cut a red cardstock paper into a rectangular shape.
- Fold it in half to make it a card.
- Cut three different-sized circles from a white chart or cardstock paper.
- Paste these circles on the red card in a sequence with the smallest circle at the top, the largest at the bottom, and the medium one in the center.
- Make sure that these circles overlap each other.
- Draw its eyes, arms, hat, nose, and muffler with different markers.
- Add white dots using a brush to make the snowfall.
- Let it dry and in the end, add golden or silver glitter here and there to give it a final touch.
![]()
Party on, Smarties! With love, Smarty had a Party!


