


Trendsetting Treats: Spring Dessert Ideas That Will Wow Your Guests
Welcome to a journey into springtime indulgence! This blog post will explore spring dessert ideas designed to elevate your gatherings with trendy and mouth-watering treats. From charming invitations to perfect desserts that tantalize taste buds, we will guide you through every aspect of hosting a memorable spring party. Get ready to create memories that will last a lifetime with our handpicked selection of Trendsetting Treats. Let's dive in!

Inviting Elegance: Ombre Mint Green Chevron Invitations
Setting the Tone
Invitations are more than just pieces of paper; they're the prelude to an experience. They serve as a tantalizing glimpse into the ambiance and atmosphere awaiting your guests. In the realm of hosting, attention to detail is paramount, and the choice of invitation speaks volumes about the care and thoughtfulness put into the event.
Ombre Mint Green Chevron Invitations
Imagine delicate hues of mint green seamlessly blending into one another, reminiscent of fresh spring foliage. Now, add a touch of whimsy with the timeless chevron pattern, creating a sense of movement and energy. These are not merely invitations; they're works of art that captivate the eye and stir anticipation.
Enhancing the Overall Theme
The beauty of these invitations lies not only in their aesthetic appeal but also in their ability to tie together the entire theme of your event. Mint green, with its renewal and vitality connotations, perfectly complements spring's spirit. The chevron pattern adds a modern twist, infusing the traditional with a hint of contemporary flair.
Anticipation for the Event
From the moment your guests receive these invitations, excitement begins to build. The anticipation of what's to come, fueled by the promise of delectable treats and enchanting company, transforms a simple gathering into a highly anticipated affair. These invitations serve as a beacon, guiding guests toward an unforgettable experience.

Indulgent Desserts
Indulgence knows no bounds when crafting desserts that steal the show. Dive into a world of decadence with our curated selection of spring treats that promise to leave your guests craving more.
Mint Cheesecake with a Chocolate Cookie Crust
Ingredients:
For the crust:
- 1 1/2 cups chocolate cookie crumbs
- 1/4 cup granulated sugar
- 1/3 cup unsalted butter, melted
For the filling:
- 24 ounces cream cheese, softened
- 1 cup granulated sugar
- 3 large eggs
- 1 teaspoon vanilla extract
- 1/2 teaspoon peppermint extract
- Green food coloring (optional)
- 1/2 cup sour cream
- 1/4 cup all-purpose flour
For the topping (optional):
- Chocolate ganache
- Fresh mint leaves
- Chocolate shavings
Instructions:
- Preheat your oven to 325°F (163°C). Grease a 9-inch springform pan and set aside.
- Combine the chocolate cookie crumbs, sugar, and melted butter in a mixing bowl to make the crust. Press the mixture evenly into the bottom of the prepared pan.
- In a large mixing bowl, beat the cream cheese and sugar until smooth and creamy. Add the eggs one at a time, beating well after each addition. Mix in the vanilla and peppermint extracts and green food coloring, if desired.
- Stir in the sour cream and flour until well combined. Pour the filling over the prepared crust.
- Bake the cheesecake in the oven for 45-50 minutes or until the edges are set and the center is slightly jiggly.
- Turn off the oven and leave the cheesecake inside with the door slightly ajar for 1 hour to prevent cracking. Remove from the oven and allow to cool completely before refrigerating for at least 4 hours or overnight.
- Once chilled, remove the cheesecake from the springform pan and place it on a serving plastic plate. Drizzle with chocolate ganache and garnish with fresh mint leaves and chocolate shavings before serving.
Tips for Presentation
Elevate the visual appeal of your Mint Cheesecake with a few simple presentation tips. Consider drizzling a decadent chocolate ganache over the top, creating an eye-catching contrast against the creamy filling. Garnish with fresh mint leaves or chocolate shavings for an added touch of elegance. Serve each slice on a decorative plastic plate adorned with a dusting of powdered sugar for a truly picture-perfect presentation that will wow your guests.
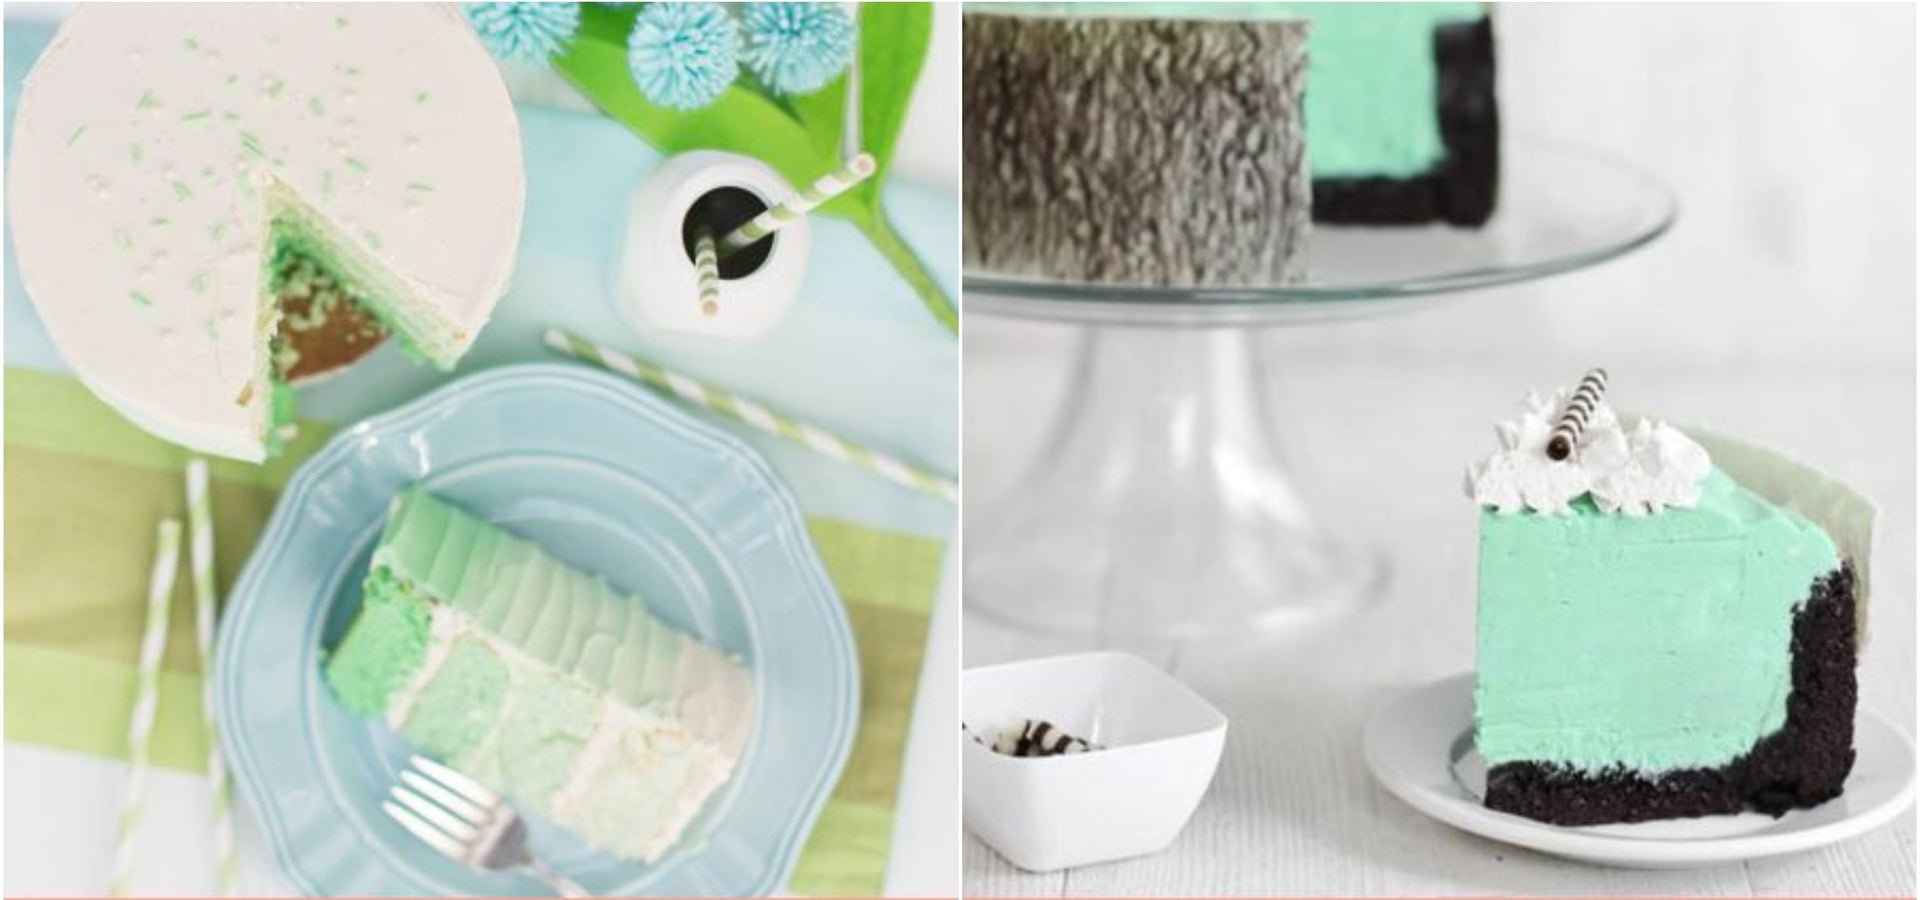
Green Ombre Cake
Ingredients:
For the cake layers:
- 3 cups all-purpose flour
- 2 cups granulated sugar
- 1 tablespoon baking powder
- 1 teaspoon salt
- 1 cup unsalted butter, softened
- 4 large eggs
- 1 cup whole milk
- 1 teaspoon vanilla extract
- Green food coloring (varying shades)
For the frosting:
- 2 cups unsalted butter, softened
- 4 cups powdered sugar
- 2 teaspoons vanilla extract
- Green food coloring (varying shades)
Instructions:
- Preheat your oven to 350°F (175°C). Grease and flour three 8-inch round cake pans and set aside.
- Whisk together the flour, sugar, baking powder, and salt in a large mixing bowl.
- Add the softened butter to the dry ingredients and mix until the mixture resembles coarse crumbs.
- Whisk together the eggs, milk, and vanilla extract in a separate bowl.
- Gradually add the wet ingredients to the dry ingredients, mixing until smooth and well combined.
- Divide the batter evenly into three bowls. Add varying amounts of green food coloring to each bowl to create three shades of green.
- Pour each shade of batter into one of the prepared cake pans and smooth the tops with a spatula.
- Bake in the preheated oven for 25-30 minutes or until a toothpick inserted into the center of the cakes comes out clean.
- Allow the cakes to cool in the pans for 10 minutes before transferring them to wire racks to cool completely.
For the frosting:
- In a large mixing bowl, beat the softened butter until creamy.
- Gradually add the powdered sugar, mixing until smooth and creamy.
- Add the vanilla extract and mix until well combined.
- Divide the frosting into three bowls and tint each bowl with shades of green food coloring to match the cake layers.
Assembly:
- Place the darkest shade of cake layer on a fancy disposable serving plate and spread a layer of frosting on top.
- Repeat with the remaining cake layers, alternating the shades of green and frosting between each layer.
- Once all the layers are stacked, frost the top and sides of the cake with the remaining frosting.
- Use a plastic spatula to smooth the frosting and create an ombre effect on the sides of the cake.
Decorating and Serving
Consider decorating your Green Ombre Cake with fresh or edible sugar flowers to add elegance. Arrange the flowers cascading down the side of the cake to enhance the ombre effect and create a stunning visual display. Serve each slice on beautiful plastic plates adorned with a sprinkle of edible gold leaf for a touch of luxury that will leave your guests in awe.
Mint White Chocolate Mousse Cake
Ingredients:
For the cake:
- 1 ½ cups all-purpose flour
- 1 ½ cups granulated sugar
- ½ cup unsweetened cocoa powder
- 1 ½ teaspoons baking powder
- 1 teaspoon baking soda
- 1 teaspoon salt
- 2 large eggs
- ¾ cup whole milk
- ½ cup vegetable oil
- 2 teaspoons vanilla extract
- ¾ cup boiling water
For the mint white chocolate mousse:
- 12 ounces white chocolate, chopped
- 2 ½ cups heavy cream, divided
- 1 teaspoon peppermint extract
- Green food coloring (optional)
- 2 teaspoons gelatin powder
- 2 tablespoons cold water
Instructions:
- Preheat your oven to 350°F (175°C). Grease and flour two 9-inch round cake pans and set aside.
- Whisk together the flour, sugar, cocoa powder, baking powder, baking soda, and salt in a large mixing bowl.
- Add the eggs, milk, oil, and vanilla extract to the dry ingredients and beat on medium speed for 2 minutes.
- Stir in the boiling water until the batter is smooth. The batter will be thin.
- Divide the batter evenly between the prepared cake pans and bake in the preheated oven for 30 to 35 minutes, or until a toothpick inserted into the center of the cakes comes out clean.
- Allow the cakes to cool in the pans for 10 minutes before transferring them to wire racks to cool completely.
For the mint white chocolate mousse:
- In a heatproof bowl, melt the white chocolate with ½ cup of heavy cream over a double boiler, stirring until smooth. Remove from heat and let it cool slightly.
- Stir in the peppermint extract and green food coloring (if using) until well combined.
- In a small bowl, sprinkle the gelatin over cold water and let it sit for 5 minutes to bloom.
- Whip the remaining 2 cups of heavy cream in a separate bowl until soft peaks form.
- Microwave the bloomed gelatin for 10-15 seconds until it is dissolved, then fold it into the whipped cream.
- Gently fold the whipped cream mixture into the melted white chocolate mixture until fully combined.
- Place one layer of the cooled chocolate cake on a serving plate or cake stand.
- Spread a layer of mint white chocolate mousse over the top of the cake layer.
- Place the second layer of chocolate cake on top and cover the entire cake with the remaining mint white chocolate mousse.
- Refrigerate the cake for at least 4 hours or overnight to allow the mousse to set.
Ideas for Garnishes and Accompaniments
To enhance the presentation of your Mint White Chocolate Mousse Cake, consider garnishing it with chocolate curls, fresh mint leaves, or white chocolate shavings. For an extra touch of elegance, serve each slice with a dollop of whipped cream and a sprinkle of cocoa powder. Pair with freshly brewed mint tea or sparkling champagne to complete the indulgent experience.

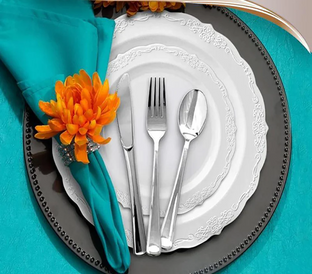
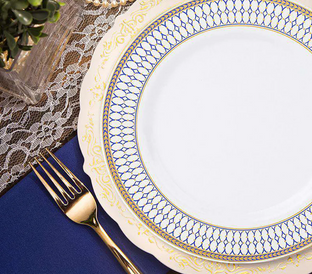
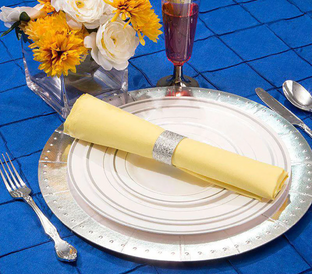
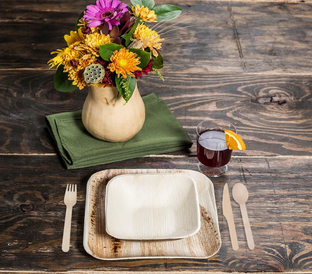
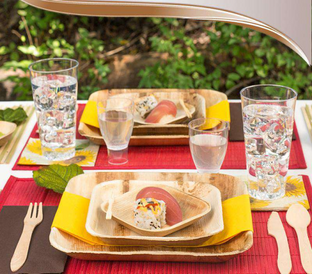
Trendy Serving Ideas
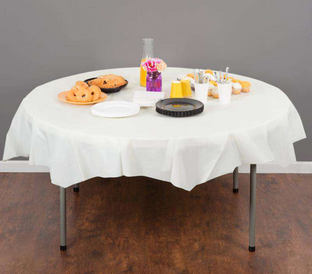
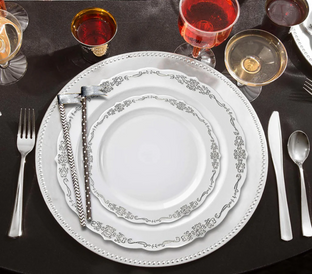
Presentation plays a pivotal role in hosting memorable gatherings. Just as the flavors of your desserts tantalize the taste buds, how they're served can captivate the eyes and elevate the overall dining experience.
Picture this: a beautifully adorned table with an array of delectable desserts, each presented with elegance and flair. The undeniable visual impact sets the stage for an unforgettable dining experience. Indeed, stylish presentation is not merely a formality; it's an integral part of the art of hosting.
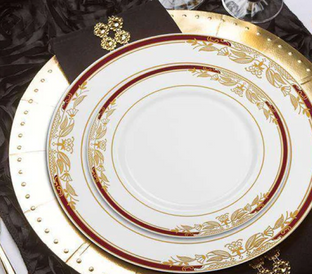
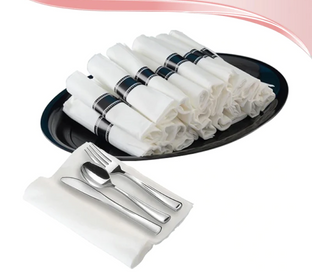
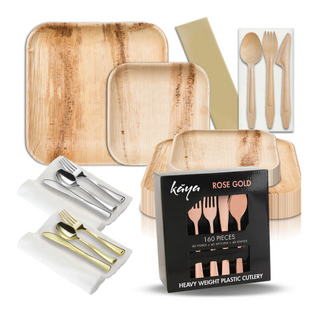
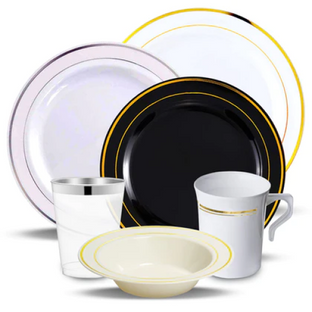
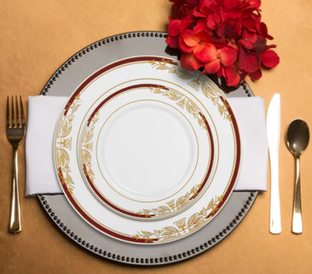
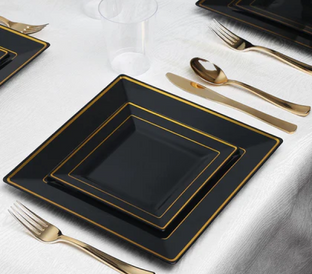
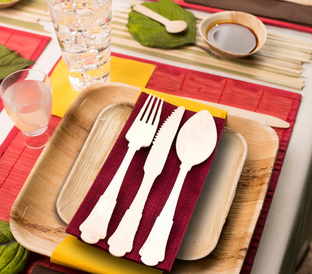
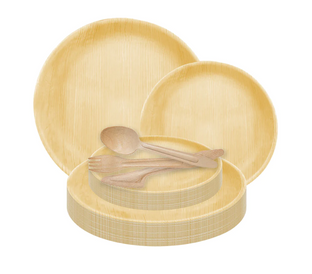
Serving with a Twist: Fancy Disposable Partyware
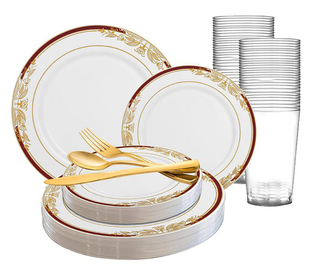
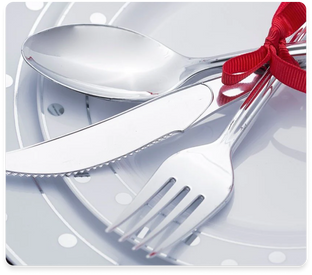
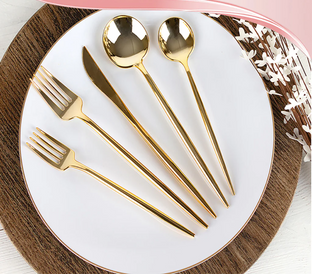
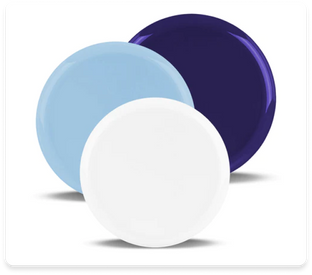
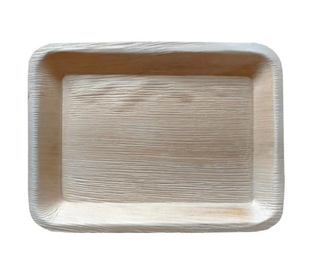
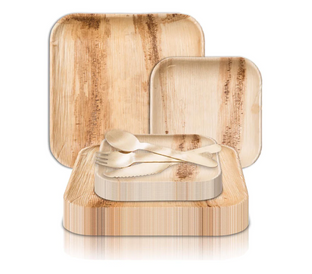
Enter the world of trendy disposable serving ware, where sophistication meets convenience. Elegant plastic cake stands elevate your desserts to new heights, showcasing your culinary creations. Fancy plastic cake plates add a touch of glamour to each individual portion, while mini plastic flatware offers a practical and stylish solution for indulging in sweet treats.
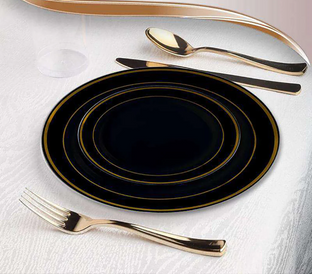
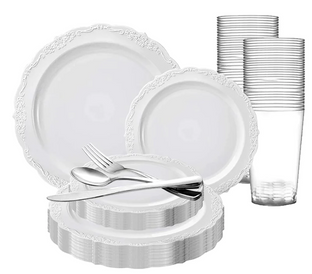
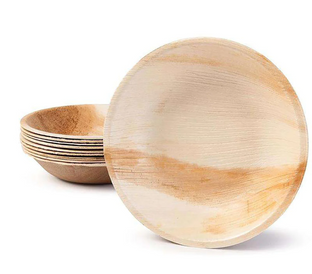
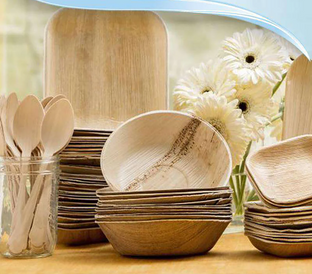
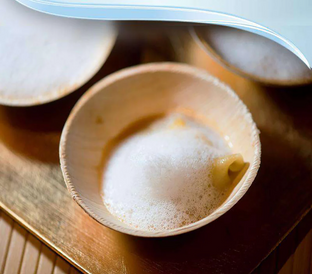
The Convenience and Aesthetic Appeal of Disposable Serving Ware
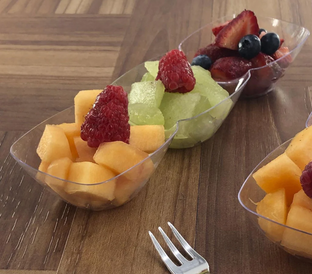
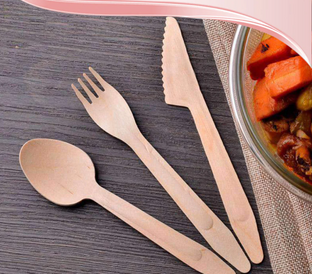
Gone are the days when disposable meant sacrificing style for convenience. Today's disposable serving utensils and plastic bowls boast practicality and aesthetic appeal. They're lightweight, durable, and effortlessly chic, making them the perfect choice for hosting gatherings without the hassle of cleanup.

Frequently Asked Questions (FAQ)
1. Where can I find these trendy serving items?
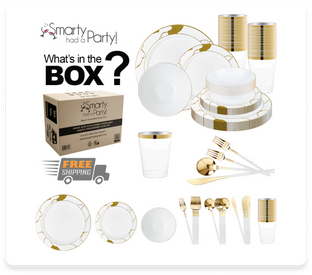
You can find many stylish serving items at the Smarty Had a Party online store, known for its elegant and convenient disposable party supplies. Smarty Had a Party has everything you need to elevate your dessert spread, from plastic cake stands to disposable serving utensils.
2. Can I customize the mint cheesecake recipe for dietary restrictions?
You can easily adapt the mint cheesecake recipe to accommodate dietary restrictions by using gluten- or dairy-free alternatives for the crust and filling. Experiment with different ingredients to suit your needs while enjoying mint and chocolate's refreshing flavors.
3. How can I ensure my Green Ombre Cake turns out perfectly layered?
Achieving the perfect ombre effect in your cake layers requires patience and precision. Follow the recipe instructions carefully, and consider using food coloring gel for vibrant and consistent colors. When layering the different shades of batter, take your time to create a seamless transition from light to dark.
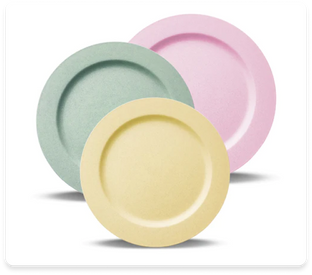
4. Can I mix and match the serving items mentioned for a cohesive dessert spread?
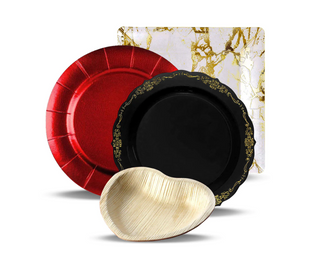
Absolutely! Mix and match different serving items to create a visually appealing and cohesive dessert spread that suits your style and preferences. Pair disposable cake stands with elegant plastic plates and complement them with mini disposable flatware and plastic bowls for a stunning presentation that wows your guests.

As we bid farewell to this culinary adventure, we invite you to continue exploring the endless possibilities of trendsetting treats and sharing the joy of delicious moments with those who matter most. Until next time, happy hosting and bon appétit!
Party on, Smarties. With love, Smarty had a Party!


